Install NVM
Open your terminal & Install the manager.
Section titled “Open your terminal & Install the manager.”- Run the following curl command to download the file and press enter:
curl -o- https://raw.githubusercontent.com/nvm-sh/nvm/v0.39.3/install.sh | bash- To verify the installation, run:
command -v nvm- You might see an error: “nvm xcrun error invalid active developer path.” To solve this, run:
$ xcode-select --install- After completing step 3, you can check the version of NVM by running:
MacBook-Pro-2:~ eli$ nvm -v0.39.3MacBook-Pro-2:~ eli$Installing the Versions
Section titled “Installing the Versions”- Now run nvm ls to see what you’ve got installed. You will get something like:
iojs -> N/A (default) node -> stable (-> N/A) (default) unstable -> N/A (default) MacBook-Pro-2:~ eli$2- Now, install the versions you need. For example, to install versions 14 and 16, run:
nvm install 14nvm install 16Getting the versions you have installed
Section titled “Getting the versions you have installed”Once you have it, you can check your installed node version like this.
nvm ls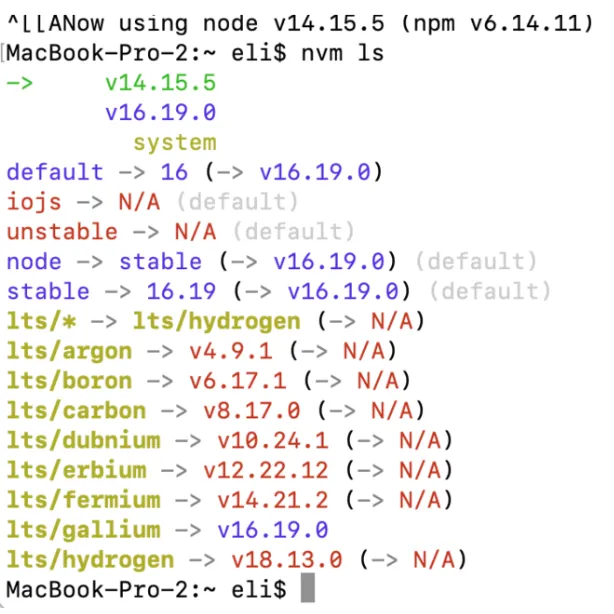
⚠️ Fix: NVM Not Loading Automatically in Terminal
Section titled “⚠️ Fix: NVM Not Loading Automatically in Terminal”Sometimes after installing NVM (Node Version Manager), you may notice that it’s not available in new terminal sessions, even though the installation completed successfully.
This usually happens because the installation script failed to correctly update your shell configuration file (.zshrc or .bashrc).
🧠 Why This Happens
Section titled “🧠 Why This Happens”During installation, NVM attempts to append the necessary environment variables to your shell config file. However, depending on:
- Your shell (
zsh,bash, etc.) - Custom configurations or permission issues
- Using tools like Oh My Zsh or custom terminal environments
…the required lines might not be added automatically, or may be placed incorrectly.
🛠️ The Fix
Section titled “🛠️ The Fix”You need to manually add the required lines to your shell configuration file.
For Zsh Users
Section titled “For Zsh Users”Edit your .zshrc:
nano ~/.zshrcAdd the following at the end of the file:
export NVM_DIR="$HOME/.nvm"[ -s "$NVM_DIR/nvm.sh" ] && \. "$NVM_DIR/nvm.sh"Then reload the file:
source ~/.zshrcFor Bash Users
Section titled “For Bash Users”Edit your .bashrc:
nano ~/.bashrcAdd the same lines at the end:
export NVM_DIR="$HOME/.nvm"[ -s "$NVM_DIR/nvm.sh" ] && \. "$NVM_DIR/nvm.sh"Reload with:
source ~/.bashrc✅ Verify
Section titled “✅ Verify”After applying the changes, open a new terminal and run:
nvm -vYou should now see the installed version, confirming that NVM is loaded correctly every time.