Run your local project
To work with the project, you need to have your local environment up and running so you can see changes reflected in WordPress.
01. Start XAMPP
Section titled “01. Start XAMPP”- Open XAMPP and make sure the following services are running:
- Go to the
Manager Serverstab Restart Allso MySQL, ProFTPD and Apache start running
02. Start the local environment
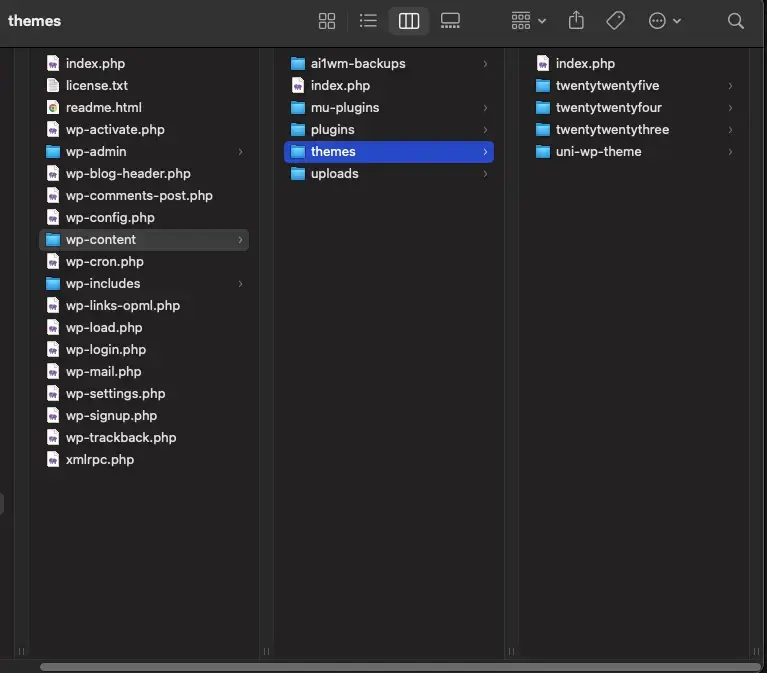
Section titled “02. Start the local environment”To see your code updates in local, you need to open the projectAcronym-wp-theme folder in your Visual Studio (uni-wp-theme in the example bellow).
And locally install Node.js in case you haven’t already. For that, open the Visual Studio’s terminal and:
nvm install 21nvm use 21This will install the Node 21 version (you can ask your manager for the exact version the project needs) in your project.
Then, install all the dependencies of the node-modules in your local project with the command:
npm installAnd start working in your local project:
npm run virtual- This command starts the local build process.
- As long as this process is running, any updates you make and save will be reflected automatically in your local environment.
03. Access the project
Section titled “03. Access the project”With XAMPP running and npm run virtual active:
- Open your local WordPress site in the browser. Example:
localhost/wp-sei,localhost/wp-prop
Learn More
Section titled “Learn More”Knowledge Check
Test your understanding of this section
Loading questions...